Dreamfactory can be installed several different ways and in many different environments. In this tutorial we are going to focus on installing from source on Ubuntu 14.0.4 LTS using ‘apt’ package manager and ‘git’ for source control.
Dreamfactory runs on a LAMP stack (Linux, Apache, MySQL and, PHP) however this acronym is used loosely to mean a web server, database, operating system, and PHP.
In addition to Apache and MySQL, Dreamfactory supports the following:
Web Servers
- NGINX
- Internet Information Services (IIS)
System Databases
- PostGreSQL
- Microsoft SQL Server
- SQLite
In this example we are using Apache as our web server and MySQL as our database. To begin, we will setup Apache to serve our Dreamfactory installation as a web page.
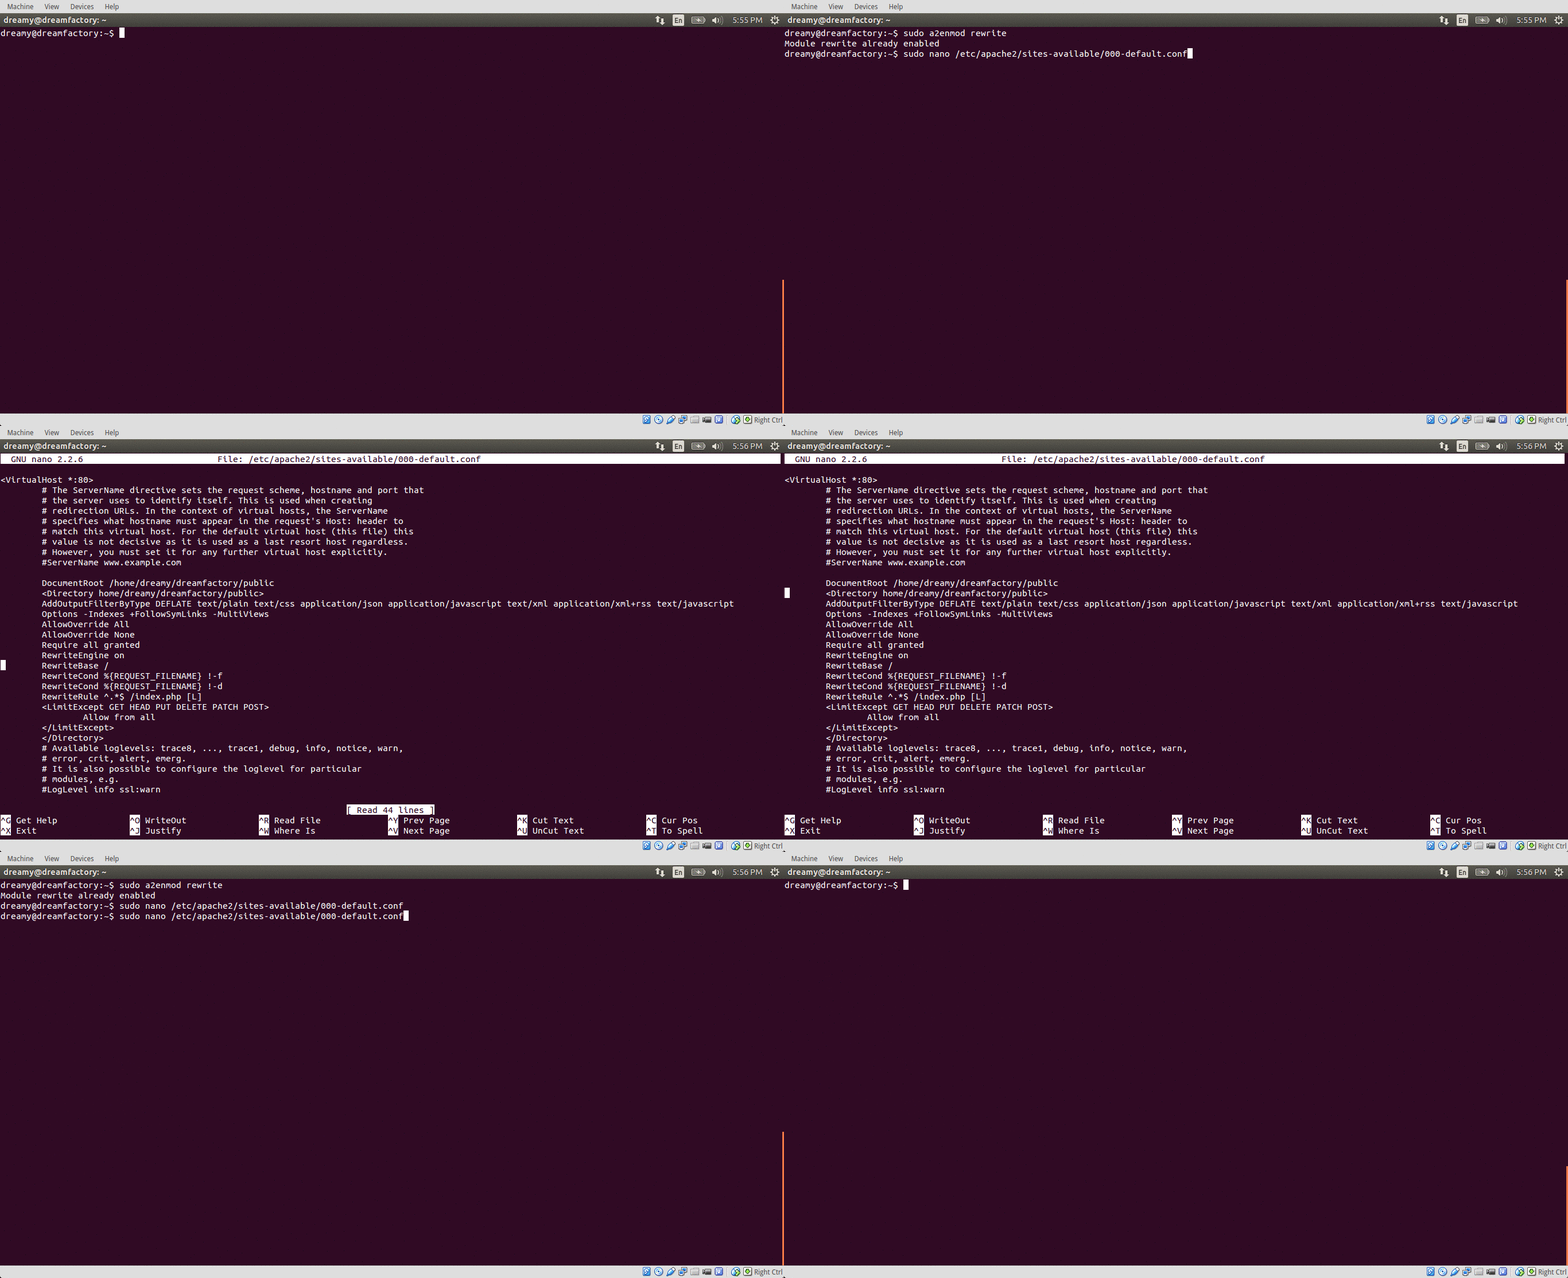
Enable the Apache 2 rewrite engine:
sudo a2enmod rewrite
Next we will configure Apache2 to connect to the Dreamfactory application:
sudo nano /etc/apache2/sites-available/000-default.conf
Edit the Document Root and Directory to the path of the ‘public’ folder in the ‘dreamfactory’ folder we cloned the Dreamfactory repository into from GitHub. The two paths to be edited are shown below. Everything in between the <Directory></Directory> tags can be copied over verbatim
<VirtualHost *:80>
DocumentRoot /home/dreamy/dreamfactory/public<Directory /home/dreamy/dreamfactory/public>
AddOutputFilterByType DEFLATE text/plain text/css application/json application/javascript text/xml application/xml application/xml+rss text/javascript
Options -Indexes +FollowSymLinks -MultiViews
AllowOverride All
AllowOverride None
Require all granted
RewriteEngine on
RewriteBase /
RewriteCond %{REQUEST_FILENAME} !-f
RewriteCond %{REQUEST_FILENAME} !-d
RewriteRule ^.*$ /index.php [L]<LimitExcept GET HEAD PUT DELETE PATCH POST>
Allow from all
</LimitExcept>
</Directory>
</VirtualHost>
Check that your Apache configuration files match, I’ve preconfigured mine to keep from boring you to death watching me type this out.

So, as you can see, make sure the two paths to the public folder in Dreamfactory are set correctly and copy the rewrite rules and conditions between the the two directory tags into the configuration file.
Restart Apache:
sudo service apache2 restart
If when restarting you get an error stating Apache couldn’t restart successfully. Take note of the error which will often times point to a syntax error in your configuration and even include the line number that needs to be checked.
Now that we have gone over the Apache configuration and restarted the web server, let’s knock out a few requirements we need to get this installation finished.
Composer is a PHP dependency manager that allows you to declare, install, and update PHP libraries. You could compare it to Ruby’s Bundler or Node’s NPM.
Let’s first change directories to install Composer globally. Type the following command to get into the proper working directory:
cd /usr/local/bin
Once you’ve navigated to this directory issue the below commands to install Composer globally. If while running the below commands Ubuntu complains about permissions try running the commands with ‘sudo’:
php -r "copy('https://getcomposer.org/installer', 'composer-setup.php');"
php -r "if (hash_file('SHA384', 'composer-setup.php') === 'e115a8dc7871f15d853148a7fbac7da27d6c0030b848d9b3dc09e2a0388afed865e6a3d6b3c0fad45c48e2b5fc1196ae') { echo 'Installer verified'; } else { echo 'Installer corrupt'; unlink('composer-setup.php'); } echo PHP_EOL;"
php composer-setup.php --filename=composer
php -r "unlink('composer-setup.php');"
Now that we have installed Composer let’s verify the installation.
composer --v
You should see the version info and some basic help information for using your Composer.
Next, let’s install the MongoDB driver. It isn’t required to install Dreamfactory with the driver enabled but when running the installation step Dreamfactory might complain about this missing dependency. I’ll make note of the workaround shortly but let’s go ahead and install it.
We’ll start by downloading php-pear, php5-dev and some development libraries.
sudo apt-get install php-pear php5-dev autoconf g++ make openssl libssl-dev libcurl4-openssl-dev pkg-config libsasl2-dev libpcre3-dev
Answer the on screen prompt by typing yes or ‘Y’ to authorize the installation. Next, we'll use Pecl to install the MongoDB driver.
sudo pecl install mongodb
The driver will begin installing, this takes a moment so be patient. Then, let’s enable the MongoDB driver and create an .ini file.
sudo touch /etc/php5/mods-available/mongodb.ini
Enable the extension by making an entry in the file we just created.
sudo nano /etc/php5/mods-available/mongodb.ini
Add this to mongodb.ini.
extension=mongodb.so
Save the changes (Ctrl + x) and enter ‘y’ to save the edit. Then, enable the extension and restart Apache.
sudo php5enmod mongodb

sudo service apache2 restart
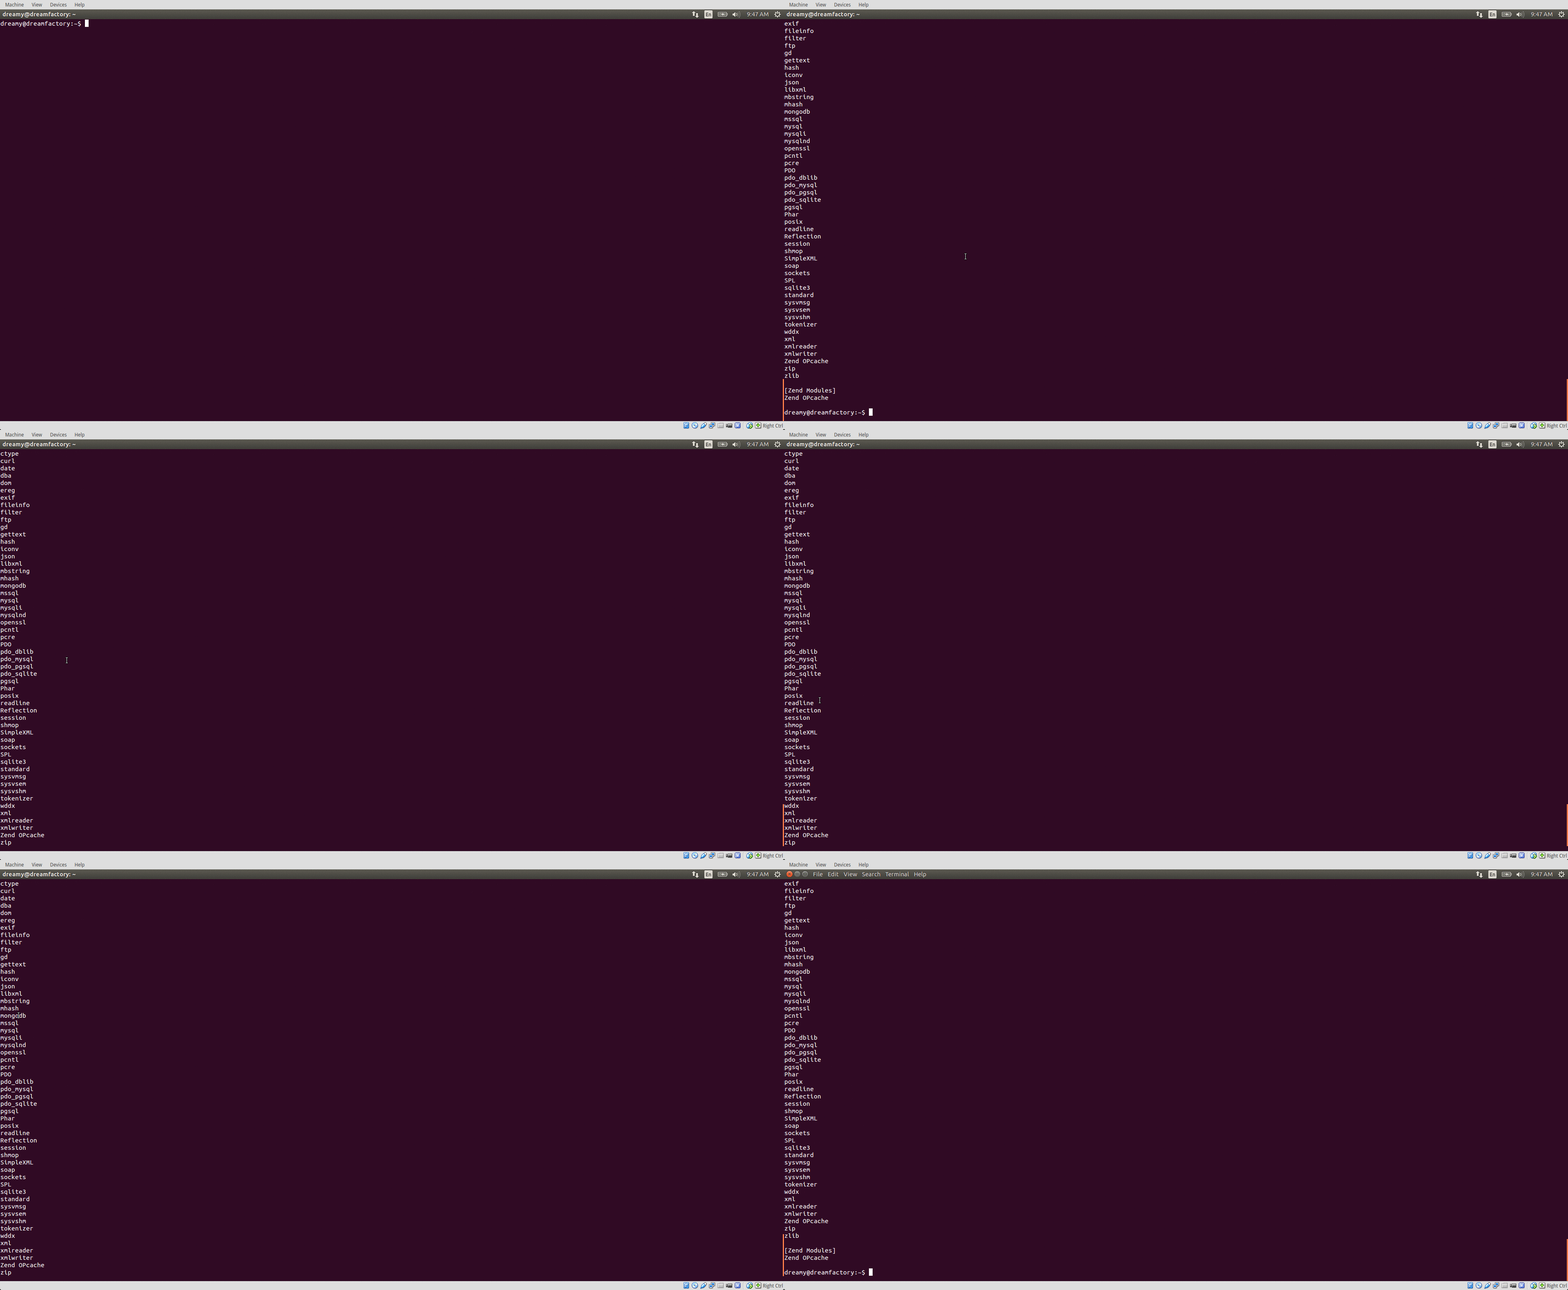
Almost done, it's time for a quick sanity check to make sure all the drivers and modules are in place to install Dreamfactory. Let's get a list of available drivers.
php -m

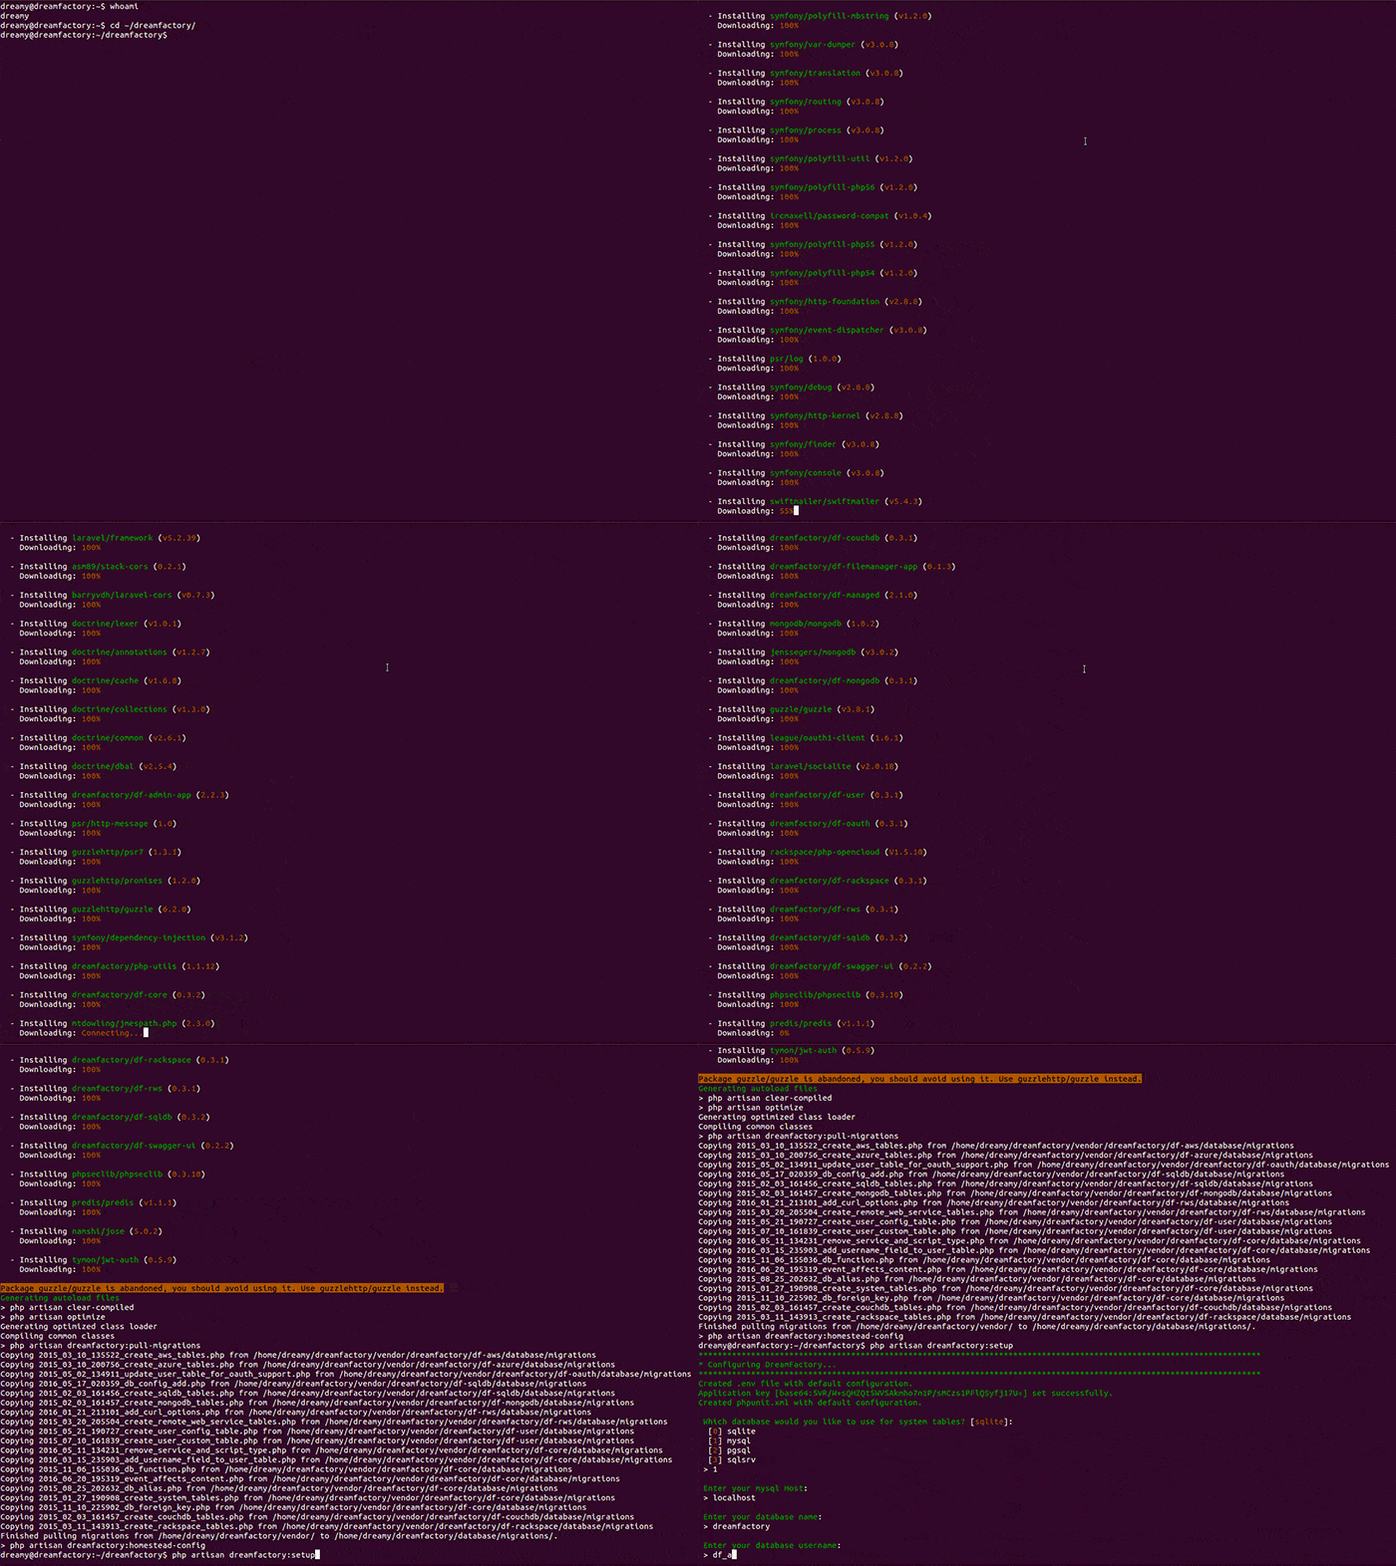
Let’s ask Ubuntu the user we are working with, change into the directory where we cloned the Dreamfactory repository, and use Composer to install Dreamfactory.
whoami

cd ~/dreamfactory

composer install --no-dev
If you chose to skip installing the MongoDB driver earlier type:
composer update—ignore-platform-reqs —no-dev
Once the command is finished running we will be ready to set up Dreamfactory.
php artisan dreamfactory:setup
You will be prompted to enter some information to connect to the database created earlier with the user and password you created.

Now that we’ve finished the installation let’s change permissions on a few directories. Remember the user we checked for with the ‘whoami’ command? That user will be required for this next step.
sudo chown -R www-data:dreamy storage/ bootstrap/cache/

sudo chmod -R 2775 storage/ bootstrap/cache/

php artisan cache:clear

sudo service apache2 restart
Voila! You have your very own Dreamfactory built from the ground up.
Terence Bennett, CEO of DreamFactory, has a wealth of experience in government IT systems and Google Cloud. His impressive background includes being a former U.S. Navy Intelligence Officer and a former member of Google's Red Team. Prior to becoming CEO, he served as COO at DreamFactory Software.


 Blog
Blog
