Creating a Geocoder Service Using DreamFactory and the Google Maps Geocoding API
by Jason Gilmore • December 13, 2018
There is no question DreamFactory's native connectors have saved IT teams countless hours of development time. Yet these are almost incidental when one takes into consideration the platform's ability to integrate with thousands of third-party REST and SOAP services, not to mention create entirely new APIs through the scripted service interface. Further, thanks to DreamFactory's ability to leverage third-party libraries, new APIs can often be created in just a few dozen lines of code.
In this tutorial you'll learn how to create a DreamFactory-managed geocoding service using Spatie's popular open source geocoder package. Using this service, you'll be able to easily convert addresses into latitudinal and longitudinal coordinates, as well as perform reverse geocoding (convert coordinates into an address). Once complete, you'll be able to use a JavaScript library such as Axios or a PHP library like Guzzle to add geocoding to your application with no additional coding required!
Enabling the Google Geocoding API
UPDATE: We've published a followup post to this topic titled "Creating a Geofence API Using the Haversine Formula, PHP, and DreamFactory’s Scripted API Services"!
Spatie's geocoder library depends upon the Google Geocoding API, meaning you'll need to create a Google Cloud Platform account to gain access to this capability. Registration is required because you'll need to generate an API key within the cloud console in order to use the API. The daily geocoding quota is very reasonable, allowing you perform several thousand geocoding requests per day. If your requirements are more involved then higher daily allowances can easily be purchased through an upgrade process.
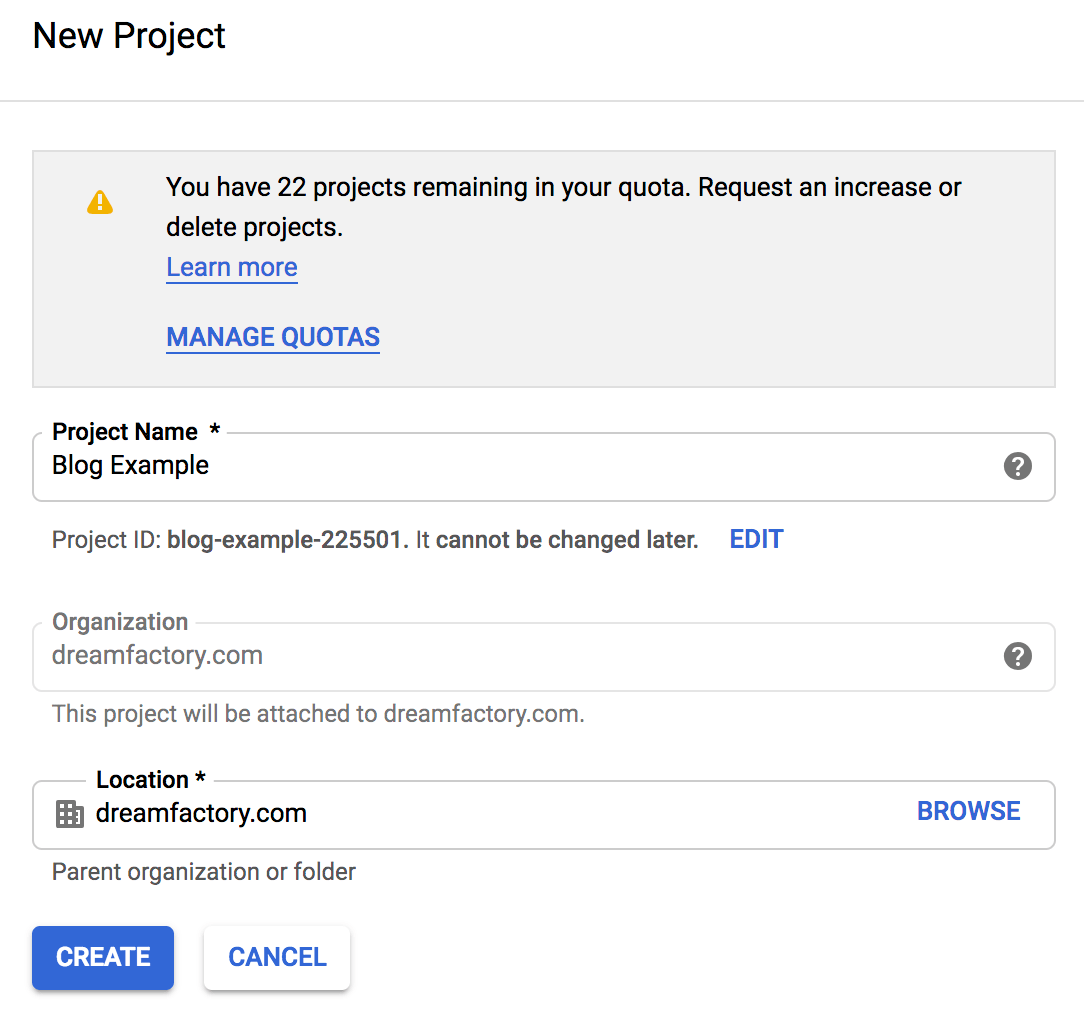
Once registered, login to the Google Cloud console and create a new project:
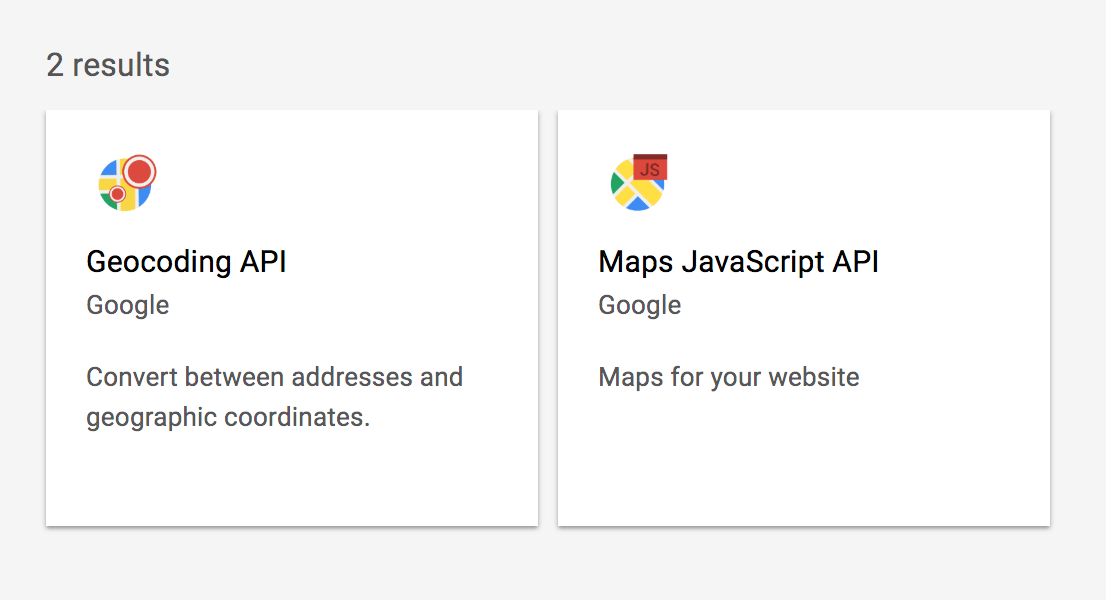
Next, enter the Marketplace and search for "geocoding". You'll be presented with the following two results:
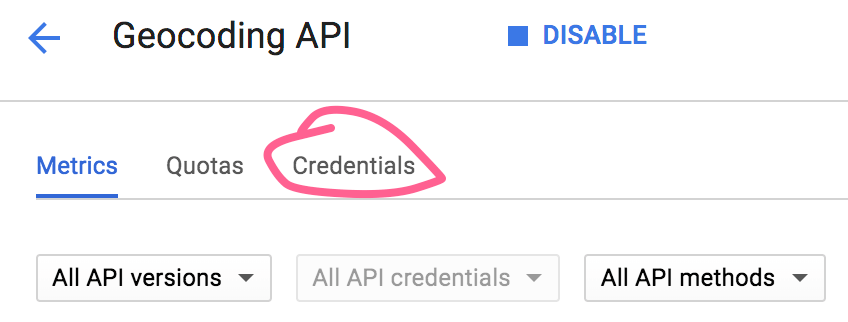
Choose the "Geocoding API" and then press the Enable button. Once enabled, you'll be presented with a dashboard, and at the top you'll find a menu item named Credentials:
Click on this link and you'll next be able to click a button titled Create Credentials. In the context menu that appears, select API Key. A window with your new API key will appear. Copy the API key to a text file as you'll need to paste it into a configuration file in a later step. Before you close this window, note you have the option to restrict key access. We suggest exploring this feature to ensure your key isn't maliciously or errantly used in unexpected ways.
Installing the Spatie Geocoder Package
Next we'll install the Spatie Geocoder package. This package is a Laravel package, which makes integration into the DreamFactory platform particularly easy because DreamFactory is built atop Laravel and like many popular PHP applications uses the Composer package manager. Therefore to install the package all you need to do is open a terminal, navigate to your DreamFactory instance's root application directory, and run this command:
$ composer require spatie/geocoder
Once installed, you'll need to run this command to publish the package's configuration file:
$ php artisan vendor:publish --provider="Spatie\Geocoder\GeocoderServiceProvider" \

> --tag="config"
Copied File [/vendor/spatie/geocoder/config/geocoder.php] To [/config/geocoder.php]
 Publishing complete.
Open config/geocoder.php and you'll see an array attribute named key:
<?php

return [

        'key' => env('GOOGLE_MAPS_GEOCODING_API_KEY', ''),

    ...

];
This references an environment variable named GOOGLE_MAPS_GEOCODING_API_KEY. You can add this key to your .env file and the configuration file will automatically assign it to the key attribute. To do so, just open your .env file found in DreamFactory's root directory and add it like so:
GOOGLE_MAPS_GEOCODING_API_KEY=YOUR_KEY_GOES_HERE
Save these changes and close the file. Next we'll create the custom scripted service.
Creating the Geocoding Service
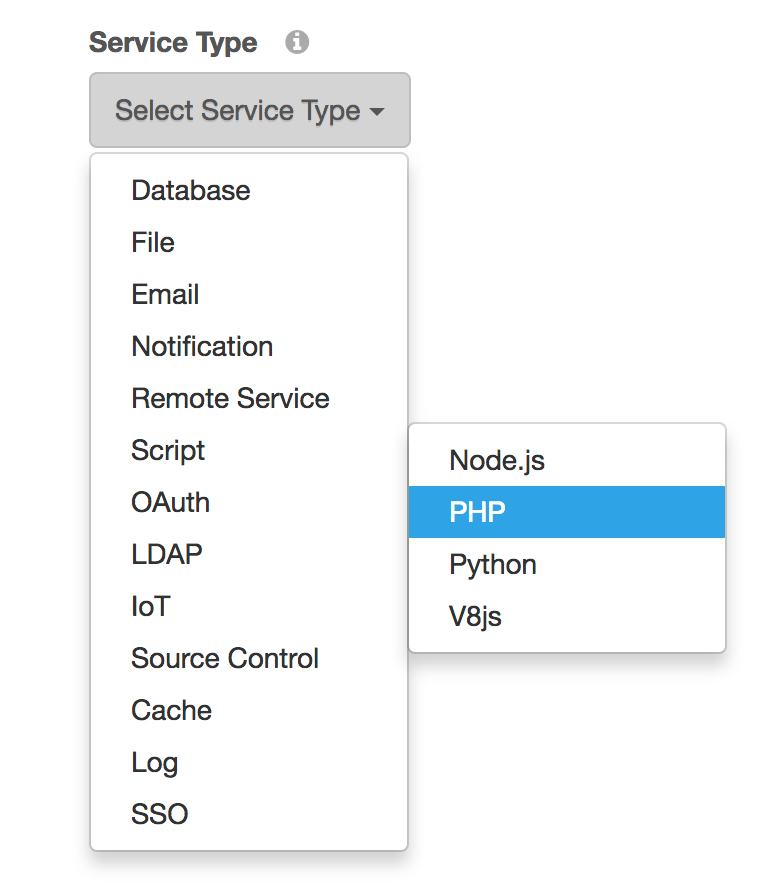
With the Spatie geocoder package added to your DreamFactory platform's Composer file, the package is immediately accessible to your DreamFactory environment. We'll use it within a scripted service. To do so, navigate to your Services tab, click the Create button, and in the Select Service Type select box choose Script and then PHP:
As is typical of any API created through DreamFactory you'll be prompted to provide a name, label, and description. The label and description are just used for referential purposes within the administration interface, however the name is important because it will be used within the API URI. Exactly how will become apparent in just a moment, so for now just provide a name such as geocoder.
Next, click the Config table and you'll be presented with a textarea. It's within this textarea where you'll provide the script used to power the API (you can also link scripts to file systems and code repositories however this is out of the scope of this blog). Paste the following code into the textarea:
$client = new \GuzzleHttp\Client();if ($event['request']['method'] == "GET") {
$response = Geocoder::getAddressForCoordinates(
(float) $event['request']['parameters']['lat'],
(float) $event['request']['parameters']['lng']
);}
return $response;
We're using two third-party libraries in this script: GuzzleHttp and the Spatie Geocoder package. The script listens for GET requests, and then will look for two parameters (lat and lng), passing them into the getAddressForCoordinates static method. The response is then returned the client. Of course in the real world you'll want to incorporate error handline; we're just trying to get straight to the point with this example.
Defining a Role and Application Key
For security reasons DreamFactory API's are never publicly accessible, so you'll need to create an application key in order to access the API. API keys are always associated with roles, which determine exactly what the API key can do in conjunction with the API, so let's begin by clicking the Roles tab to create a new role. Then press the Create button. Specify a role name and description such as Geocoder Role and Role used to manage the geocoder API, respectively. Next, click the Access tab. You'll be presented with the following interface:
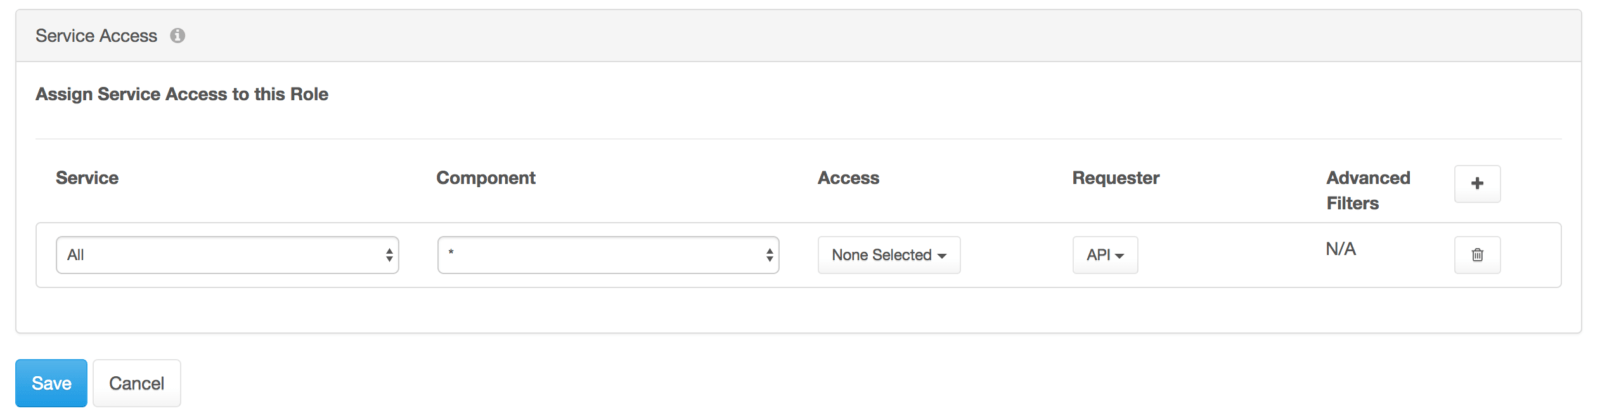
Press the plus sign located to the right of the interface to associate a service with this role. In the Service dropdown you'll select the geocoder service. Leave the Component field set to *. In the method field select GET because this is the only HTTP method that can be used in conjunction with this service. Finally, set the Requester field to API because we'll access the geocoder service via the exposed API. Click the Save button to save the role.
Generating an Application Key
Next, click the Apps tab located at the top of the screen. This interface is used to manage your API keys. Click the Create button to create a new API. You'll be presented with the following interface:
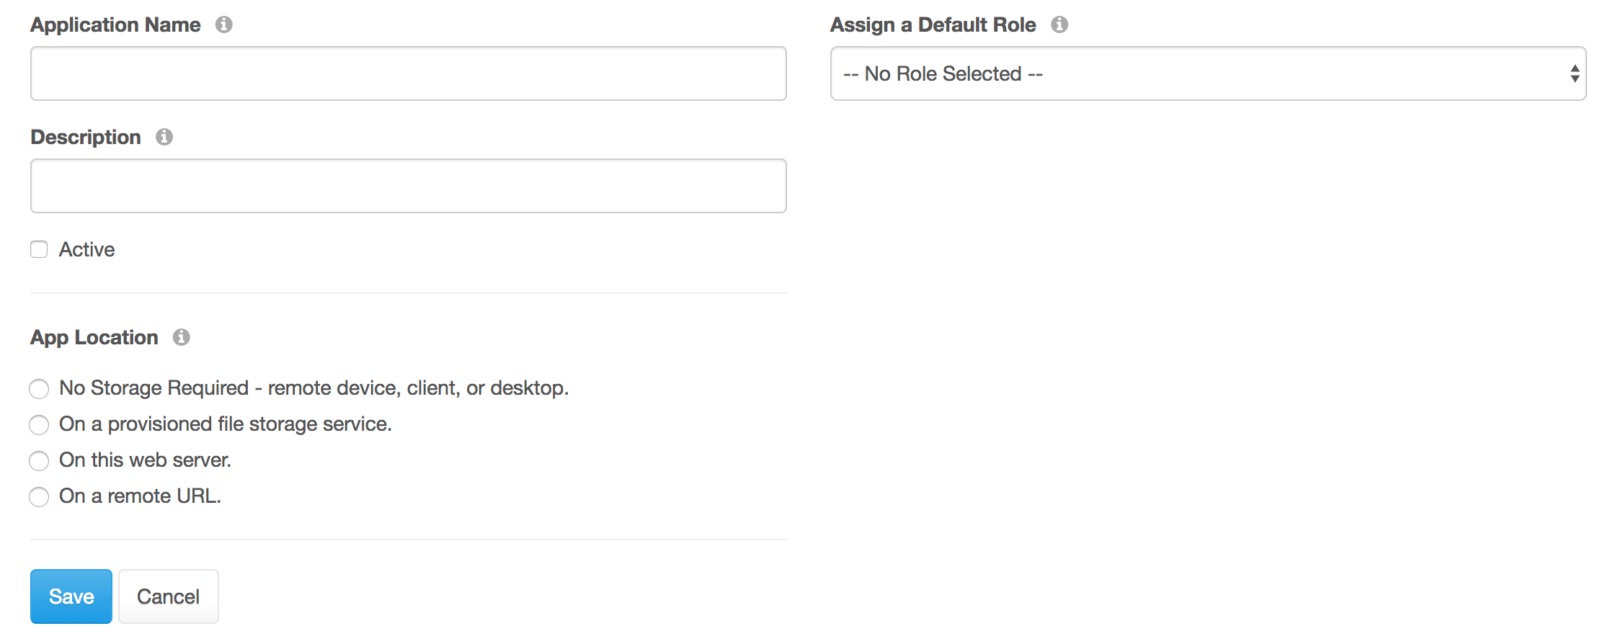
Assign the application a name such as Geocoder Application, select the No Storage Required radio button because you'll be accessing this API from one or more third-party applications presumably not hosted on the DreamFactory server, and finally select the Geocoder Role from the Assign a Default Role select box. Click the Save button to generate the API key. Once clicked, you'll be returned to the Apps main interface, and at the bottom of the table you'll find your newly generated API key. Copy this key to your clipboard or a text file, as we'll use it in the next section to interact with the geocoder API.
Accessing the API
With the geocoder service created and configured, it's time to test it out! Open an HTTP client such as Insomnia or Postman and enter the your geocoder service URL, passing along the coordinates like so:
https://YOUR_DF_URL/api/v2/geocoder?lat=38.895267&lng=-77.037236
In response you'll receive output similar to the following!
    {

        "lat": 38.8953658,

        "lng": -77.03741939999999,

        "accuracy": "RANGE_INTERPOLATED",

        "formatted_address": "1601 E St NW, Washington, DC 20502, USA",

        "viewport": {

            "northeast": {

                "lat": 38.8967147802915,

                "lng": -77.0360704197085

            },

            "southwest": {

                "lat": 38.8940168197085,

                "lng": -77.0387683802915

            }

        }

    }
Conclusion
This simple but practical example really illustrates the power of building scripted APIs using the DreamFactory platform. If you have any questions regarding what else is possible, be sure to e-mail us at info AT dreamfactory.com!
TL;DR - GET AN AI SUMMARY
Jason is the author of almost a dozen books on web development, including most recently Easy Laravel 5, and Beginning PHP and MySQL, 4th Edition. He's the co-founder of the CodeMash Conference, one of the largest software conferences in the Midwestern United States. Jason serves as a technical advisor to the boards of several technology startups. His free time is spent playing with his kids and reading.