
DreamFactory, OAuth, Azure, API Security, AI Gateway, Enterprise APIs
Why Choose OAuth for API Security: A Complete Azure AD Integration Guide for DreamFactory
Secure your APIs with OAuth 2.0 using Azure Active Directory and DreamFactory. Learn why OAuth is the enterprise standard and how to implement it step by step.
by Cody Lord • March 26, 2026
DevOps, DreamFactory, OAuth, SSO, API Security, GitHub, RBAC, JWT
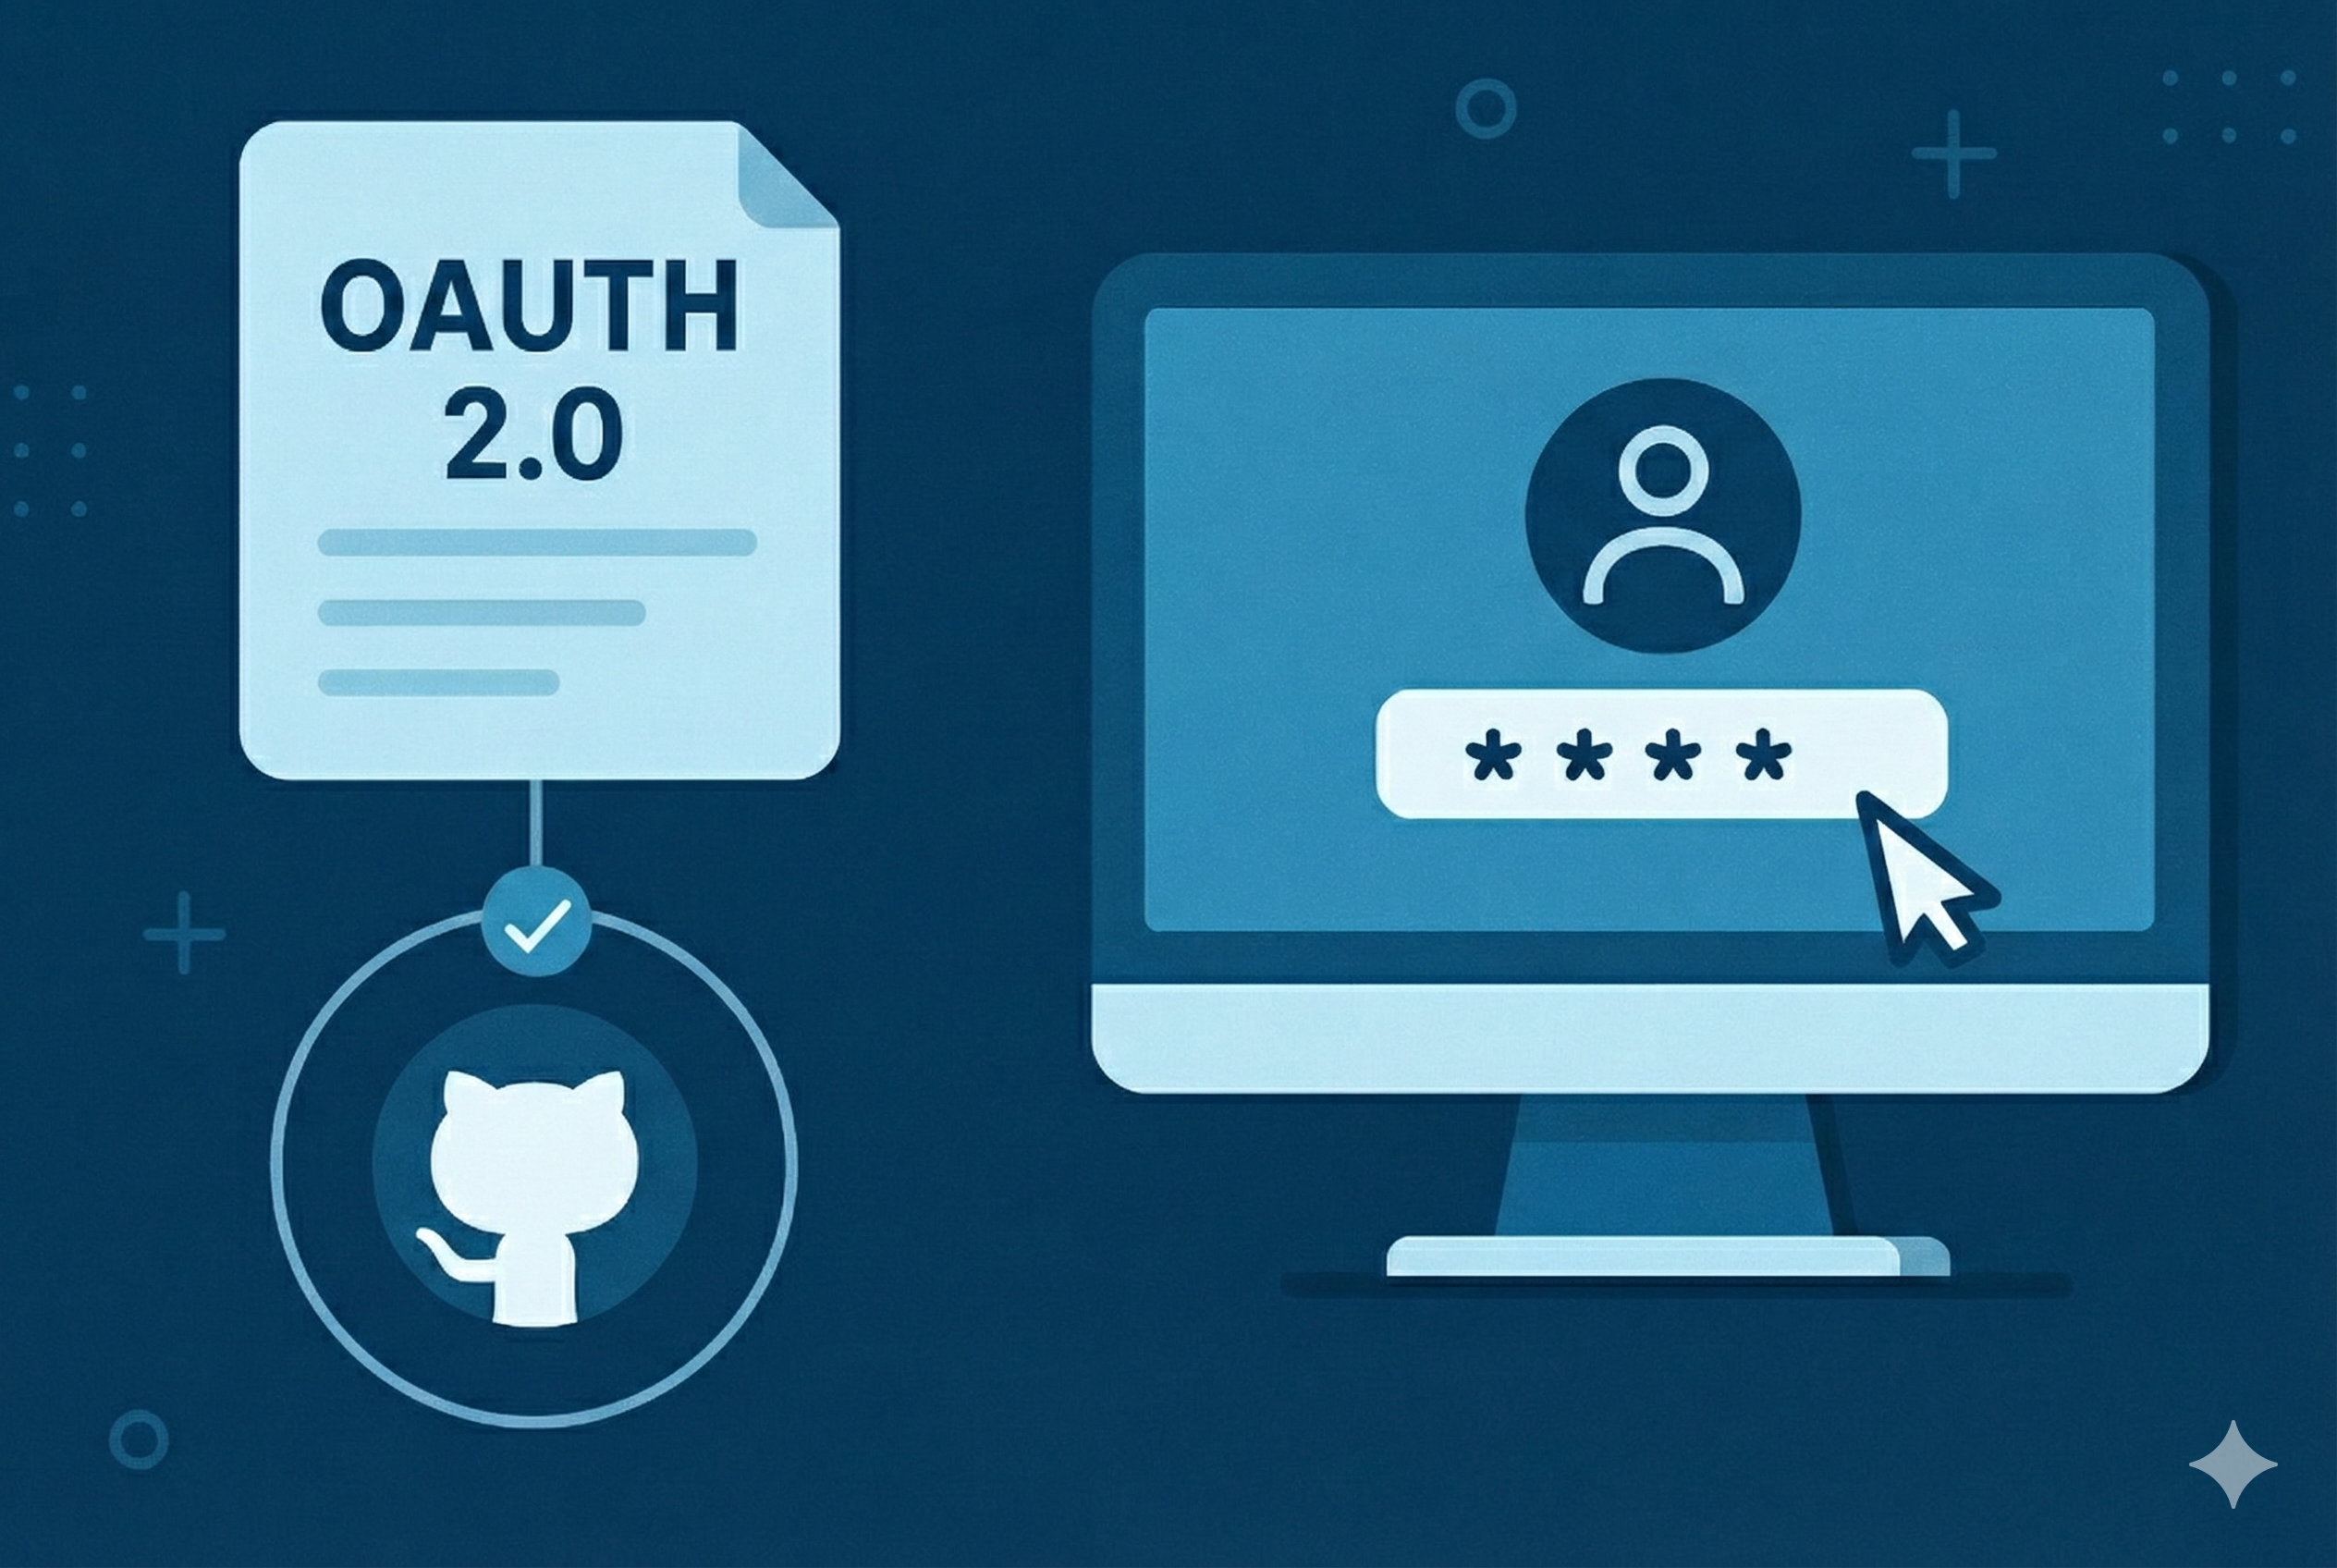
How to Configure GitHub OAuth Authentication in DreamFactory: Complete Setup Guide
by Cody Lord • December 15, 2025

API Management, OAuth, API Security, documentation, Scope Naming
OAuth Scope Naming: 7 Best Practices
by Kevin McGahey • November 3, 2025
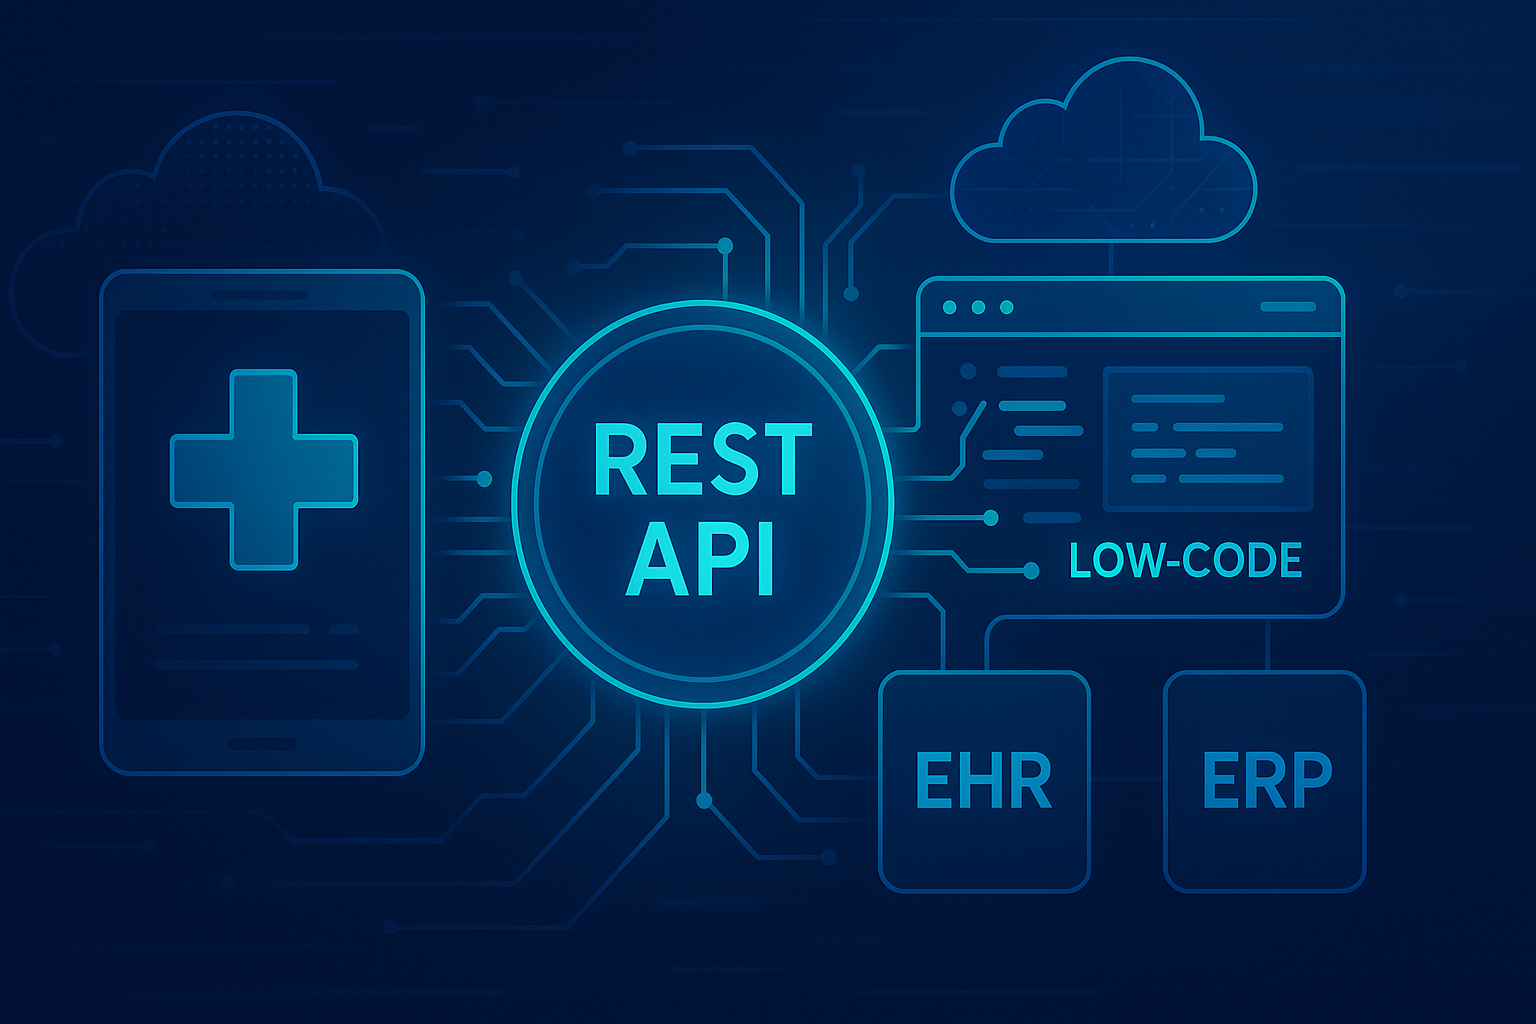
DreamFactory, OAuth, Low Code, erp, Healthcare, EHR Integration, Onprem
Top 5 Low-Code REST API Platforms for Secure Healthcare ERP & EHR Integration (2025 Guide)
by Kevin Hood • October 17, 2025

Facebook, Facebook OAuth 2.0, OAuth, Login, API
How to Incorporate Facebook OAuth 2.0
by Kevin McGahey • September 23, 2020
