
One of the most powerful features of DreamFactory is the ability to write server-side script in pre- and post-process events and use as a custom scripting service. This provides the ultimate flexibility and allows the platform to support all sorts of complex backend business logics. However, DreamFactory server-side scripts are stateless and their scope is gone once the original process is completed.
Supported Cache Services
To allow for more flexibility in server-side scripts as well as to add a quick way of storing key-value pair data, DreamFactory 2.3 introduces the ‘Cache’ service. The Cache service supports three different types of cache backends.
- Local file based cache
- Redis cache
- Memcached cache
Once the services are configured, all three types of cache backends use the same REST API interface to read, write, update, and delete the key-value pair data. Cache Services are native services of DreamFactory and are supported by features like role-service-access, lookup usage, live API documentation etc.
You can configure and use a cache service in a standalone way to store any number of key-value pair and retrieve them as needed. This allows you to easily implement a server-side caching system for your client apps. But the real benefit of cache service can be realized in server-side scripting. In your DreamFactory server-side script, you can make API calls to your cache service just like you do that for any other services. This will allow you to temporarily or permanently store any data related to your script. This can later be used in another script/process or even inside your client application.
Configuring Your First Cache Service
Let’s take a closer look at this new Cache service and it’s usage. You can configure/provision a Cache service just like any other services using the DreamFactory Admin console -> Services tab.
To learn more about the configuration, please see the wiki page.
Once you configure a DreamFactory Cache service, head over to the swagger API Docs by selecting the ‘API Docs’ tab on the Admin console. Your newly provisioned Cache service should now show up on the list of services there. Select your cache service to expand it. This will show you all the available APIs for your service. You can expand each of this API to get further details on their usage.

Cache for Performance
If you are interested in getting your API calls in a timely manner you can leverage Redis for consistent speeds. To do so you just have to follow a few simple steps.
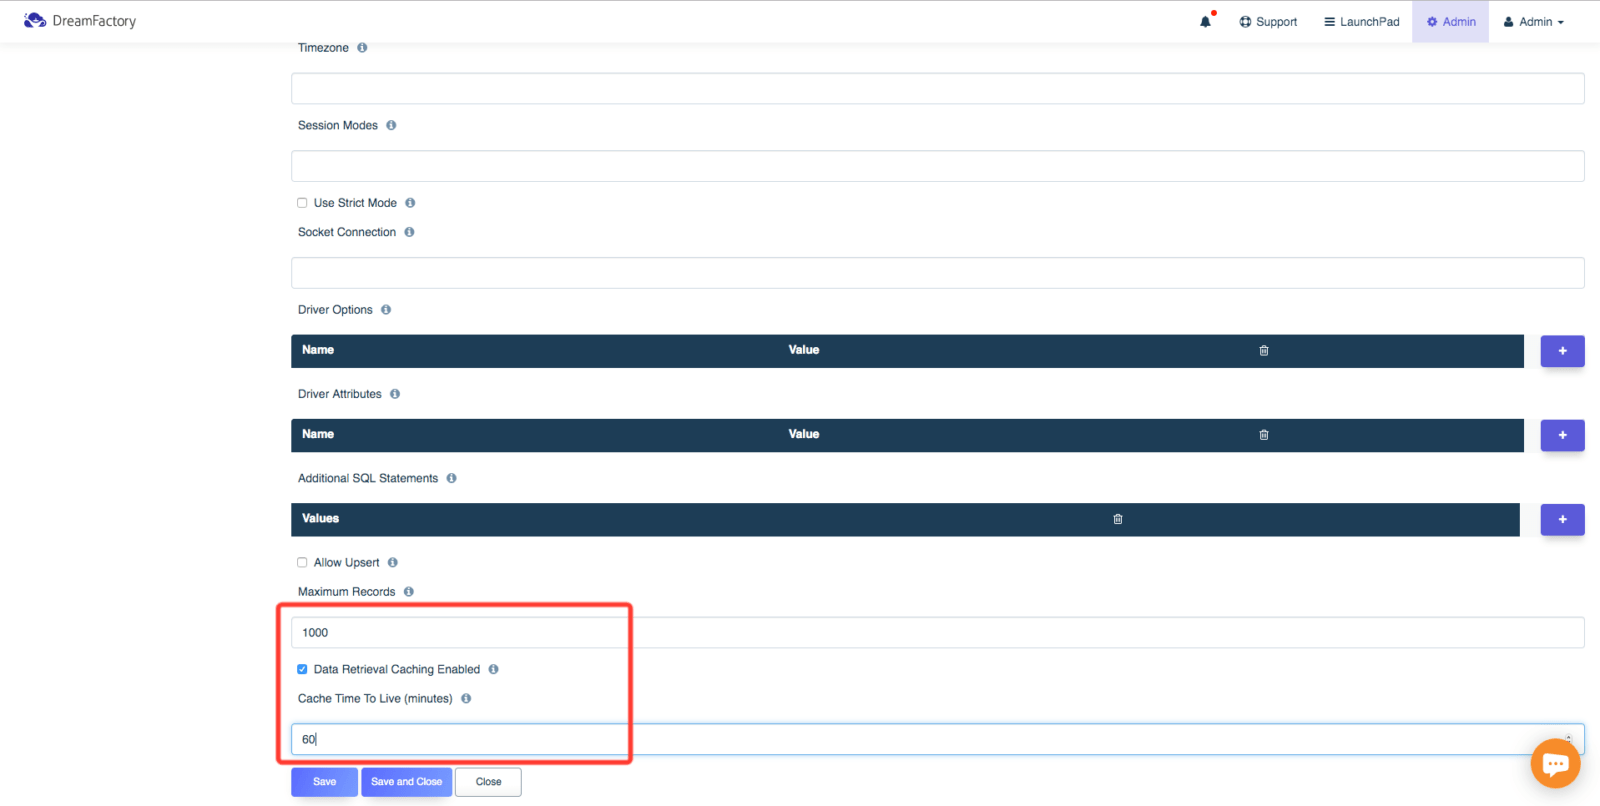
First you will want to enable Caching for the Service you would like cached and set the amount of time each cached response is allowed to last.
Then you will want to edit the Cache Settings section in your .env file. You will want to uncomment the following.
- CACHE_DRIVER=redis
- CACHE_DEFAULT_TTL=Cache TTL in minutes
- CACHE_HOST=
- CACHE_PORT=6379
- CACHE_PASSWORD=LEAVE COMMENTED OUT IF YOU ARE NOT USING A PASSWORD
- CACHE_DATABASE=2
- REDIS_CLIENT=Which Redis client to use: predis or phpredis
Believe it or not, that Service is now being Cached. Confirm it in your Redis environment and never worry about slow response times again! Chat with an expert today or try out a free instance to see how easy it is yourself.