Terence Bennett - October 24, 2014Talking to developers over the last few months, one of the most common requests we received was to support Oracle as one of our native database types. Version 1.8.0 of the DreamFactory Platform does exactly that. With some simple configuration you can create an Oracle API and access it either from your app or from the API Docs in the administration console. By adding Oracle as a service, you can easily control which users and apps have access to the database and what level of access they should have.
This blog post will show you the steps required to set up and make calls to an Oracle database from DreamFactory running on Mac OS X. There are a few steps to get the Oracle instant client and OCI8 extension for PHP set up properly, but it’s not hard and I’ll show you exactly what to do. The process is similar for Linux or Windows but the directory structure (location of files like php.ini) would be different.
Installing DreamFactory
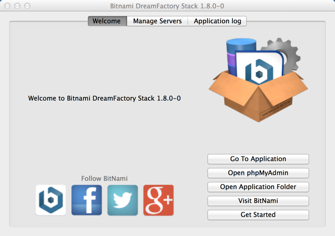
There are many ways to install DreamFactory. Our documentation wiki provides installation instructions for different cloud platforms and operating systems. I’ll be installing on my local MacOS system using the Bitnami packaged installers. These give you a complete standalone stack that can easily be customized or removed without affecting other installed software. Follow the directions in the installer then launch the DreamFactory app from the Bitnami Application Manager by clicking the Go To Application button. Here’s a screenshot of the Application Manager.

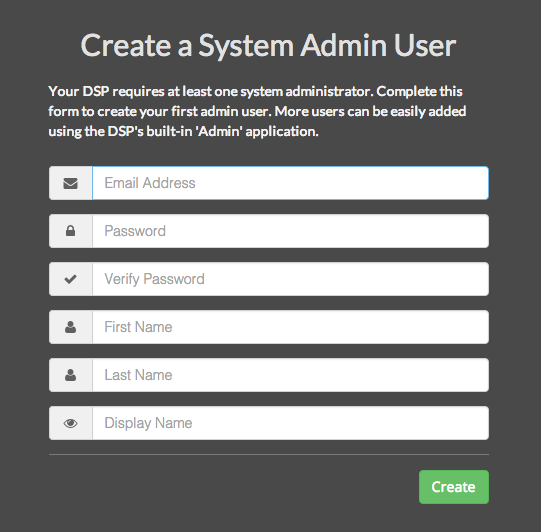
The first time you launch DreamFactory you’ll be prompted to create an admin user for your DreamFactory environment.
After that you’ll be taken to the administration console.
 The DreamFactory Administration Console
Install the Oracle Instant Client
Before DreamFactory can connect to Oracle you must install the Oracle instant client software.
This is a free download from Oracle although it does require registration. I downloaded the file instantclient-basic-macos.x32-11.2.0.4.0.zip for my mac and unzipped, creating a directory instantclient_11_2, which I put in my home directory. The full path is /Users/gta/instantclient_11_2 (gta is just my user name yours would be different). This directory contains the additional libraries needed to connect to Oracle.
Enable the oci8.so Extension in php.ini
Starting with DreamFactory 1.8.0 the Bitnami installs come with the OCI8 extension for PHP already included. This is located at /Applications/dreamfactory-1.8.0-0/php/lib/php/extensions/oci8.so. Once you have confirmed that you have this file OCI8 just needs to be enabled in /Applications/dreamfactory-1.8.0-0/php/etc/php.ini by uncommenting the line for oci8.so.
;extension=oci8.so ——-> extension=oci8.so
Set the path to your instant client directory
In /Applications/dreamfactory-1.8.0-0/scripts/setenv.sh add the following line at the top of the script, replacing the path shown with the location of your instantclient_11_2 directory that you unzipped earlier.
DYLD_LIBRARY_PATH="/Users/gta/instantclient_11_2"
Restart Apache
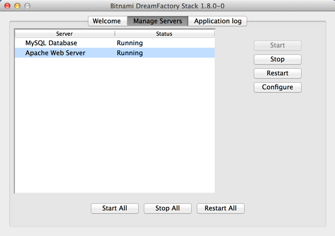
Almost there! From the Manage Servers tab of the Bitnami Application Manager or using shell commands, restart Apache.
Test for oci8.so Working
Run this command and you should see oci8 in the list with no errors.
/Applications/dreamfactory-1.8.0-0/php/bin/php -m
If you have problems with this step go back and recheck your previous steps.
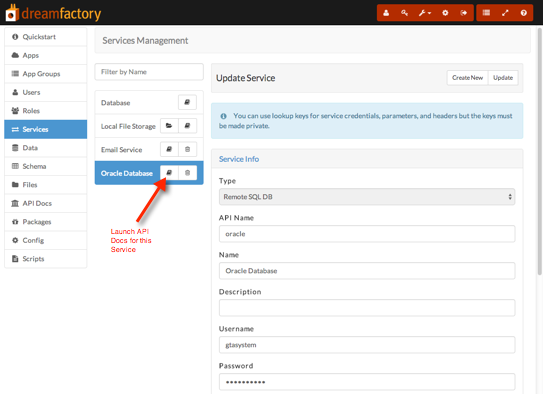
Create a New Service
We know OCI8 is loaded and presumably working so now we can create a service for our Oracle database. In your administration console go to the services tab and click ‘Create New’. Fill out the form for the new service. After you enter this information the connection string will be built for you. You can edit the connection string manually if needed.
- Type: Remote SQL DB
- API Name: The name of your new service to be used in REST calls. Can be simply ‘oracle’.
- Name: The display name of your service.
- Description: Optional
- Username: Your Oracle user name
- Password: Your Oracle password
- SQL Vendor: Oracle
- Host: The IP or host name of your Oracle server.
- Database Name: Your Oracle database name
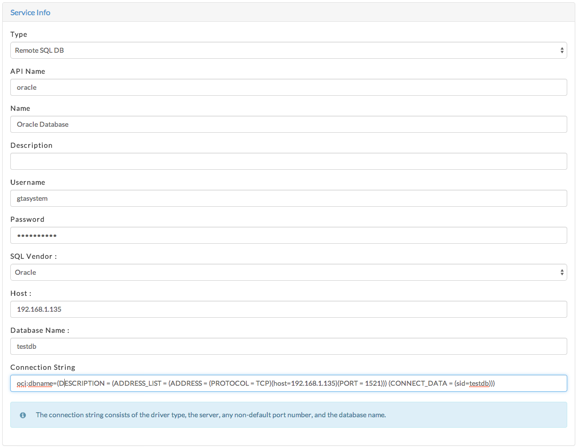
Note that username and password can be defined as special values called lookup keys to allow different Oracle logins for different users. For now you can just hard code the username and password. Click the Save button to create your new service.
Test Your New Service
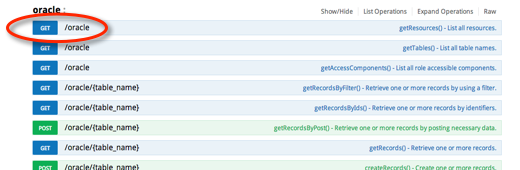
Click the document icon next to the service name in the list. This will take you to the API Docs where you can test your service.
The API Docs give you access to all the functionality supported by the REST API such as CRUD and schema. Click the first GET button then Try It Out! to get a list of all tables. GET {table_name} allows you to retrieve records for a single table. All verbs are supported so you can experiment with how the API interacts with your Oracle database.
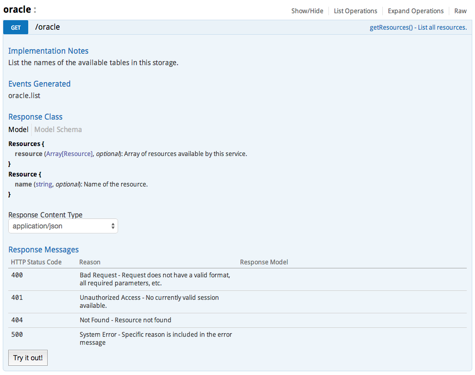
Note that data can be returned in either JSON or XML, and the format is consistent across the other SQL and NoSQL databases types that we support. This makes it easy to change databases with little to no code changes in your app.
In addition to the API Docs your client side apps can now make API calls such as sending requests to /rest/oracle to get a list of all tables or /rest/oracle/<tablename> to get all records for a particular table. See our wiki for details on accessing databases via the REST API.
Conclusion
Now that your Oracle service is working you can use the admin console to configure roles that restrict access to the service based on app and user. You can write server side scripts that do pre and post processing on any db request. If you want to change to a different Oracle database you can edit your Oracle service or create a new service that points to the other database. Good luck with your projects.
Terence Bennett, CEO of DreamFactory, has a wealth of experience in government IT systems and Google Cloud. His impressive background includes being a former U.S. Navy Intelligence Officer and a former member of Google’s Red Team. Prior to becoming CEO, he served as COO at DreamFactory Software.