Kevin McGahey - February 13, 2017DreamFactory 2.4.2 introduces the SAML 2.0 Single Sign On service. Now you can easily authenticate into DreamFactory using your external SAML 2.0 identity provider (IdP).
SAML 2.0 is a native DreamFactory service and therefore supports role-service-access, live API documentation, etc. Once you’ve configured your SAML 2.0 service in DreamFactory, all configuration details are hidden from your client. They’re securely stored on your DreamFactory instance database. This provides a simple way to authenticate into DreamFactory-based app using an external SAML 2.0 identity provider.
Configuring a SAML 2.0 service is as simple as configuring any other service in the DreamFactory admin console. Start by logging into the admin console, head over to the ‘Services’ tab, and click on the ‘Create’ button on the left sidebar. Use the ‘Service Type’ drop down to select ‘SSO’ -> ‘SAML 2.0’, complete the service configuration form and save it to create your service. Here’s what the SAML 2.0 configuration looks like.
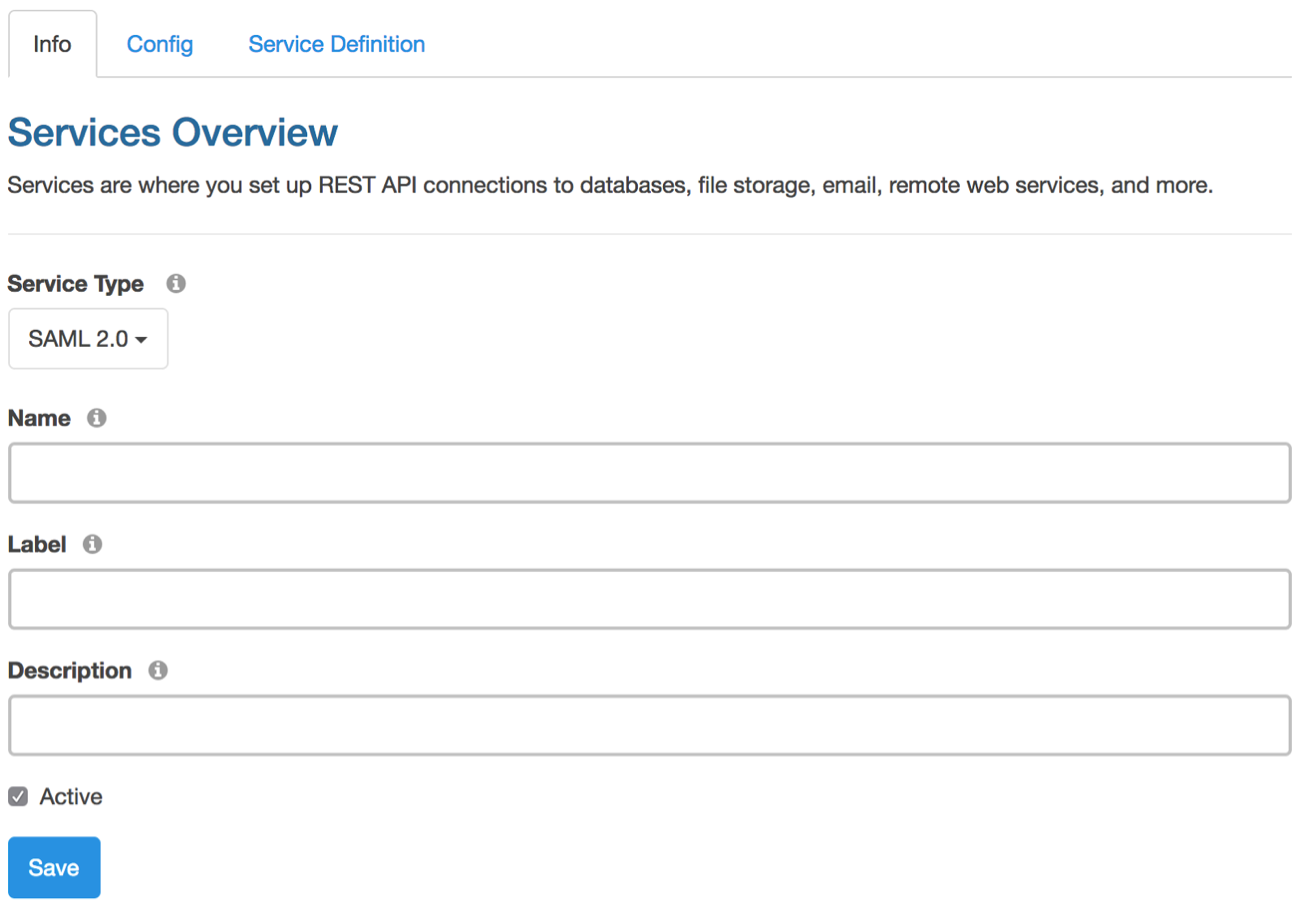


In the ‘Config’ tab, provide the following configuration information:
- Default Role – String. Optional. Select a default role for users logging in with this SAML 2.0 service type.
- SP NameIdFormat – String. Required. Specifies the constraints on the name identifier to be used to represent the requested subject.
- SP x509cert – String. Optional. Public x509 certificate of the Service Provider.
- SP Private Key – String. Optional. Private Key of the Service Provider.
- Relay State – String. Optional. The URL to redirect to upon authenticating and returning from IdP. Leaving this blank will output JSON with authenticated user information including JWT. If you like to include the JWT in a parameter to your Relay State URL, you can do so using URL like https://example.com?jwt=_token_ . Here _token_ will be replaced by the actual JWT.
- IdP EntityId – String. Required. Identifier of the Identity Provider entity.
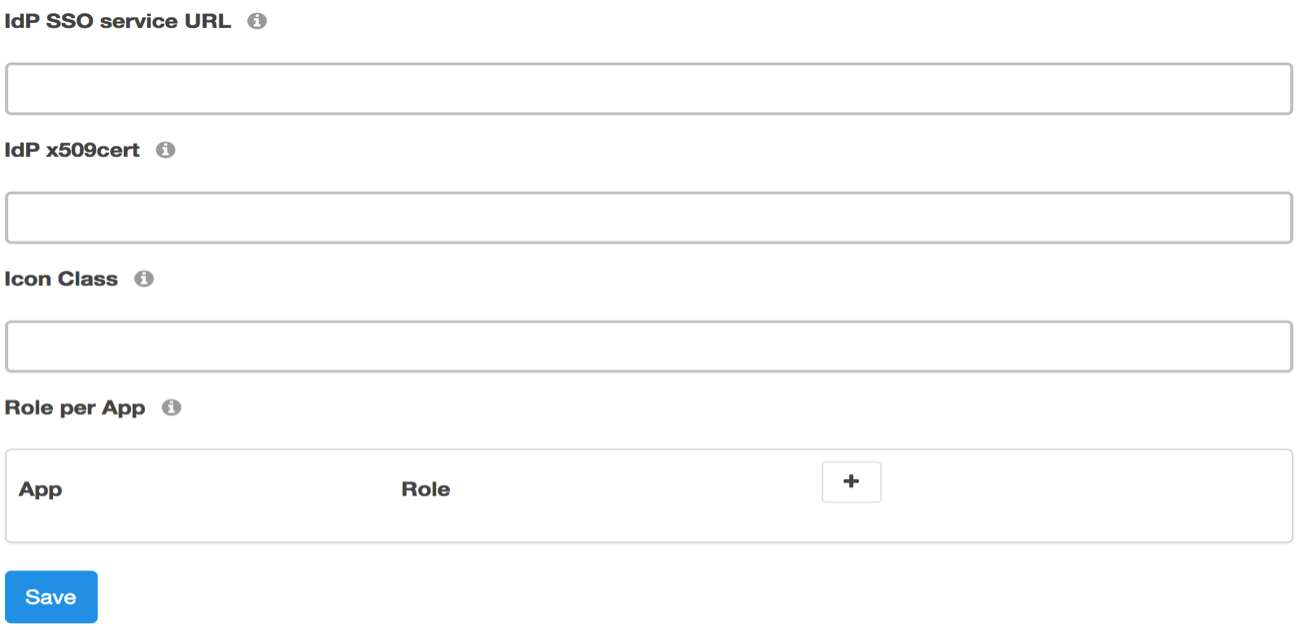
- IdP SSO Service URL – String. Required. URL Target of the Identity Provider where the Authentication Request Message will be sent.
- IdP x509cert – String. Optional. Public x509 certificate of the Identity Provider.
- Icon Class – String. Optional. CSS Icon Class of the SAML 2.0 provider.
- Role per App – Array. Optional. Select desired Role per Apps for your users logging in using this service.
Once your SAML 2.0 service is configured, head over to the ‘API Docs’ tab and expand your newly created service to see API endpoints ready for you to use.
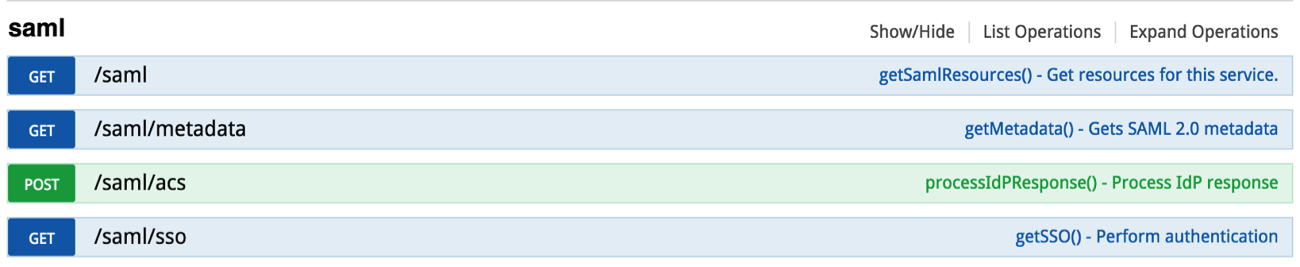
GET – /saml – Lists all available endpoints for your SAML 2.0 service.
GET – /saml/metadata – Generates SAML 2.0 service provider metadata (XML).
POST – /saml/acs – This is the Assertion Consumer Service. It processes response sent back from IdP.
GET – /saml/sso – This is the Single Sign On endpoint that takes your user to the IdP login page.
We also updated our DreamFactory admin app to support SAML 2.0 authentication. When you create your DreamFactory SAML 2.0 service, it will also show up on the admin app login page under the ‘username’ and ‘password’ entry option in a section called ‘SAML 2.0 Login’.
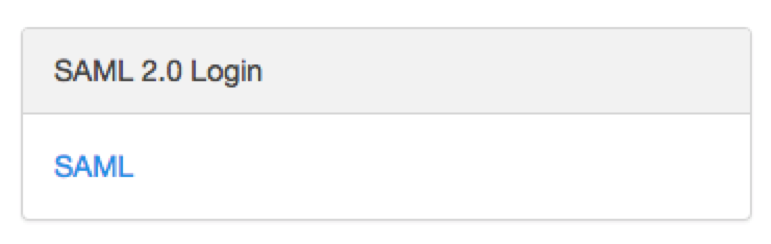
If you’ve entered any icon class for your SAML service in the configuration then that icon will show up here, otherwise it will show your SAML service label as it shows in the screenshot above. This is a hyperlink to the /saml/sso endpoint and it will take you to the IdP login page when you click on it. After you enter your username and password on the IdP login page and authenticate, you will be redirected back to DreamFactory and logged in.
We quickly covered how you can easily connect SAML 2.0 authentication to DreamFactory. Head on over to the community forum to discuss or let us know what you think in the comments!
Kevin McGahey is an accomplished solutions engineer and product lead with expertise in API generation, microservices, and legacy system modernization, as demonstrated by his successful track record of facilitating the modernization of legacy databases for numerous public sector organizations.